Follow this guide to register, manage your account, and set up your hosting. We've designed it to be as simple as possible.
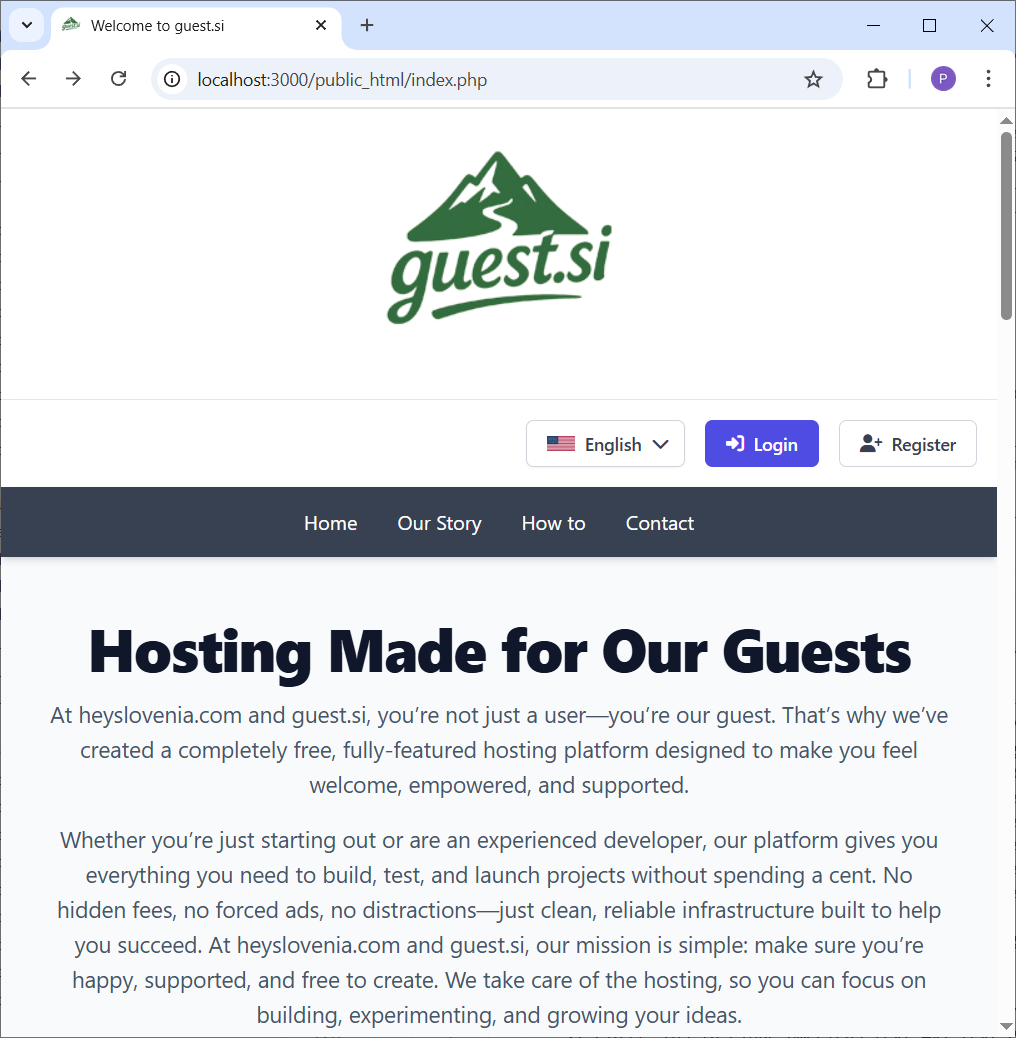
Welcome to our platform! To get started, navigate to our homepage. Here, you can find quick links to log in or create a new account.
Click the "Register" button in the top-right corner to begin the registration process.
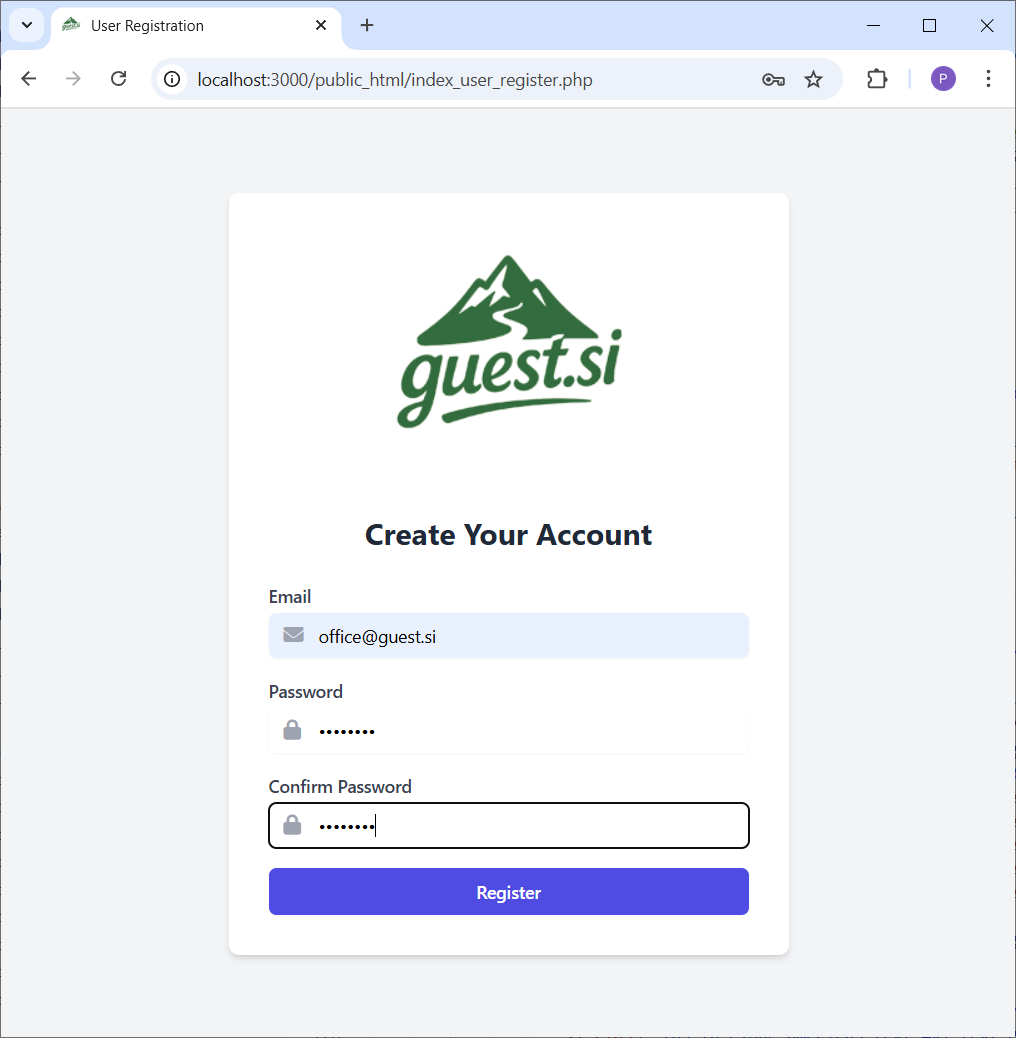
You will be taken to the registration page. Simply fill in your email address, choose a secure password, and confirm it.
Once you've filled in the details, click the "Register" button to proceed.
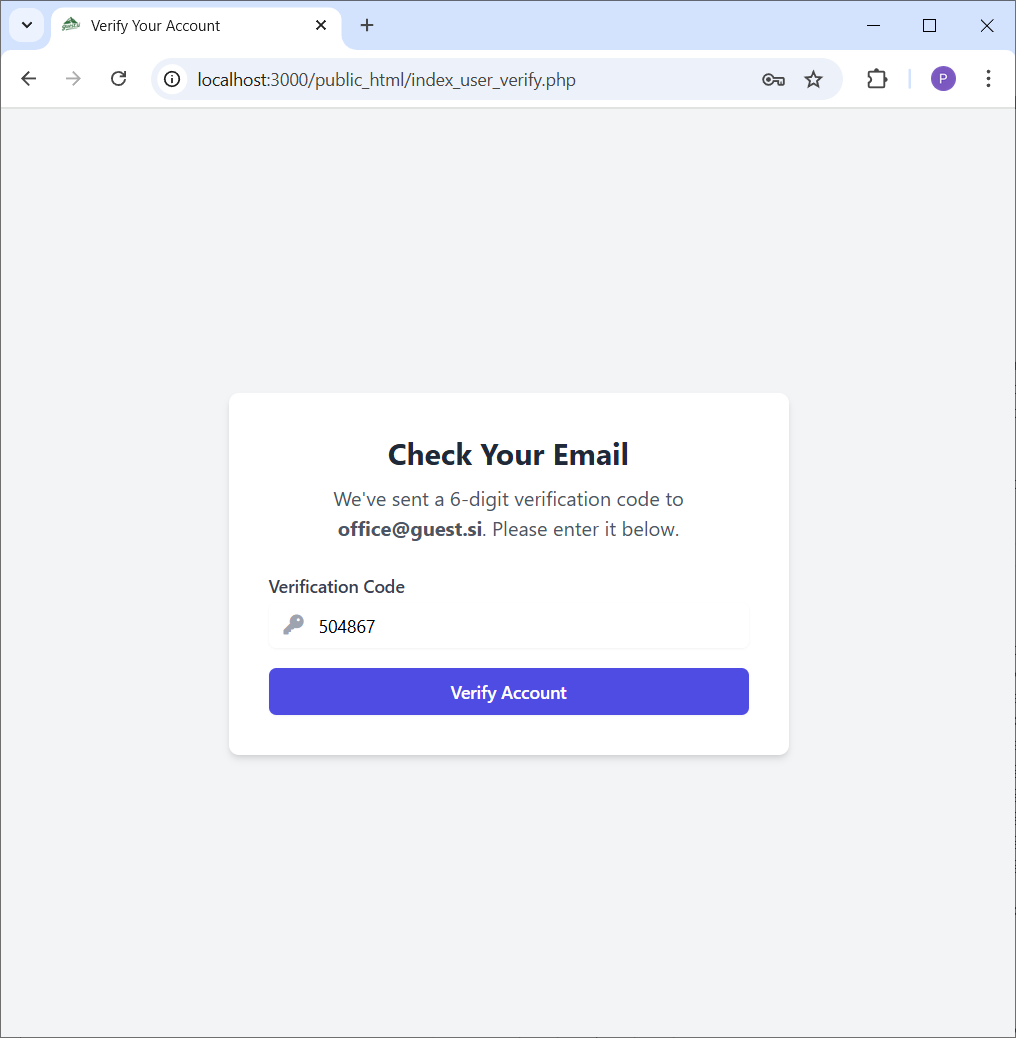
After submitting your registration, we need to verify your email address. You will see a screen prompting you to check your inbox for a verification code.
This step is crucial for securing your account.

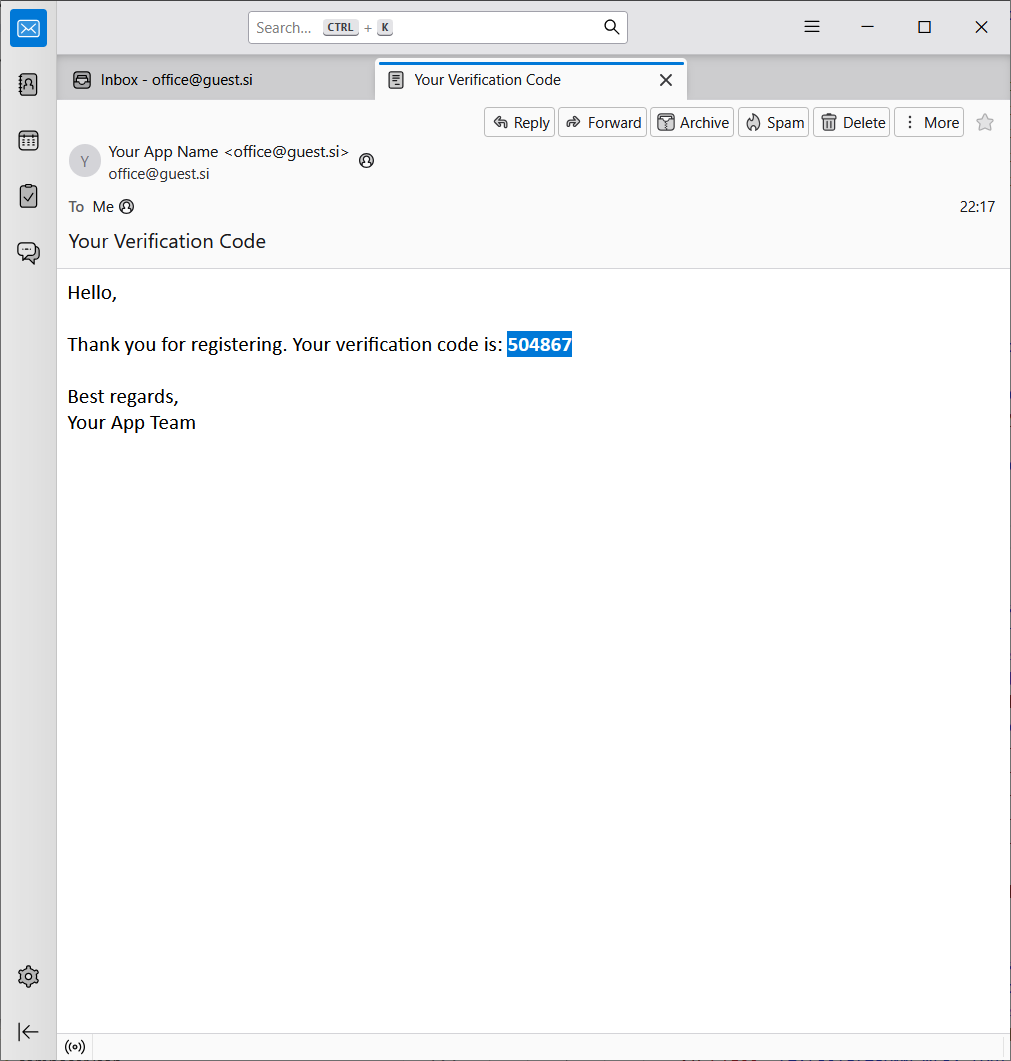
Open your email client and look for an email from us. It will contain a 6-digit verification code.
Copy this code. If you don't see the email, be sure to check your spam or junk folder.
Return to the verification page in your browser and paste or type the 6-digit code into the input field.
Click the "Verify Account" button to complete your registration.
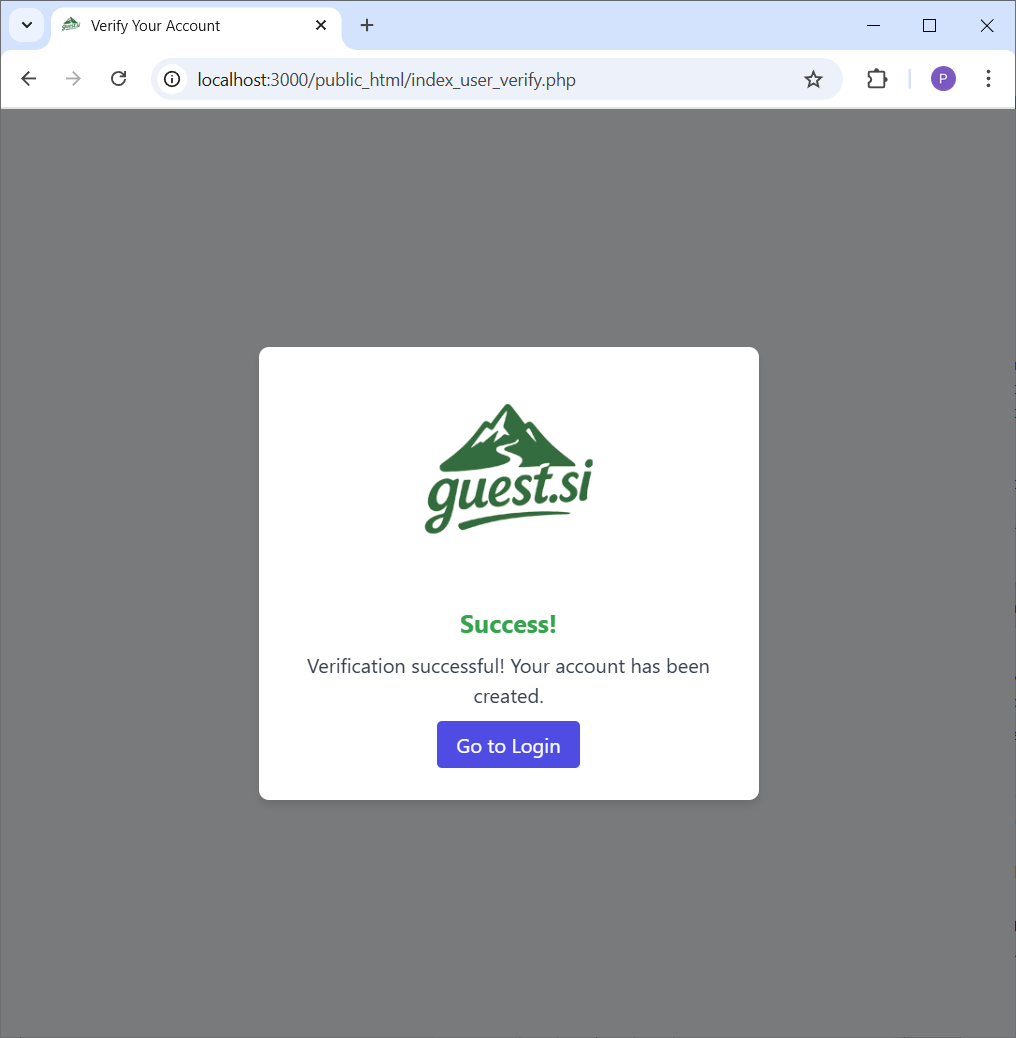
Congratulations! Your account has been successfully created and verified.
You can now proceed to the login page by clicking the "Go to Login" button.
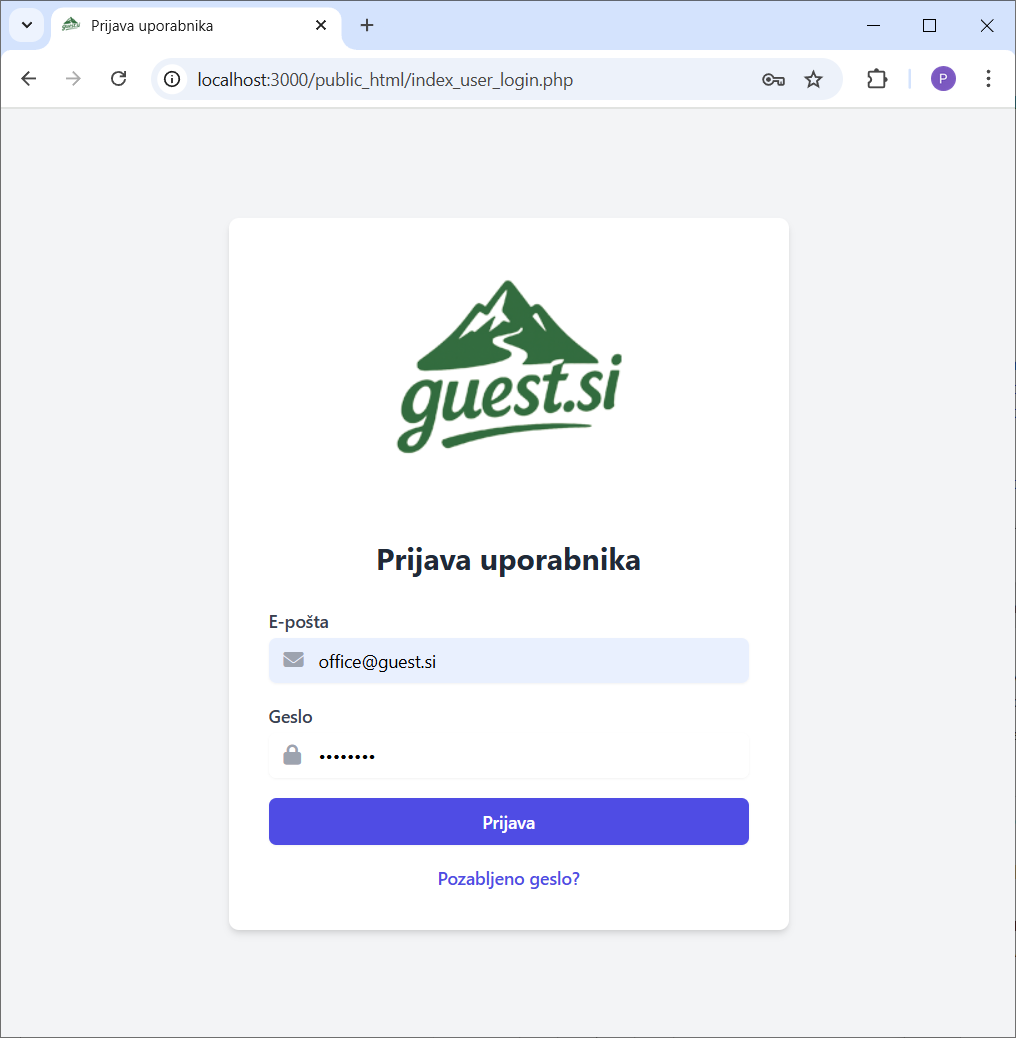
On the login page, enter the email address and password you used to register.
Click the "Login" button to access your user control panel.
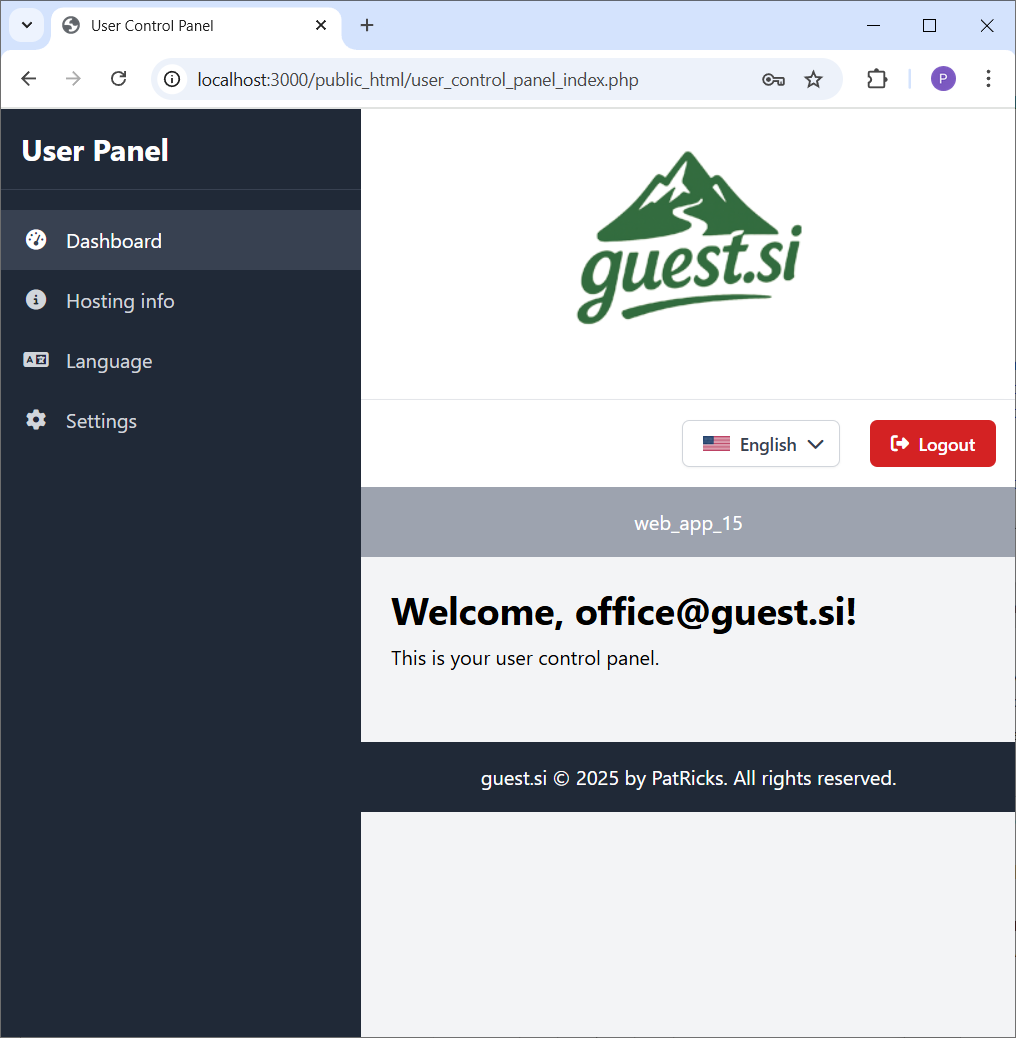
This is your main dashboard. From here, you can navigate to all sections of your account using the sidebar on the left.
The sidebar includes links to your Hosting Info, Language preferences, and Account Settings.
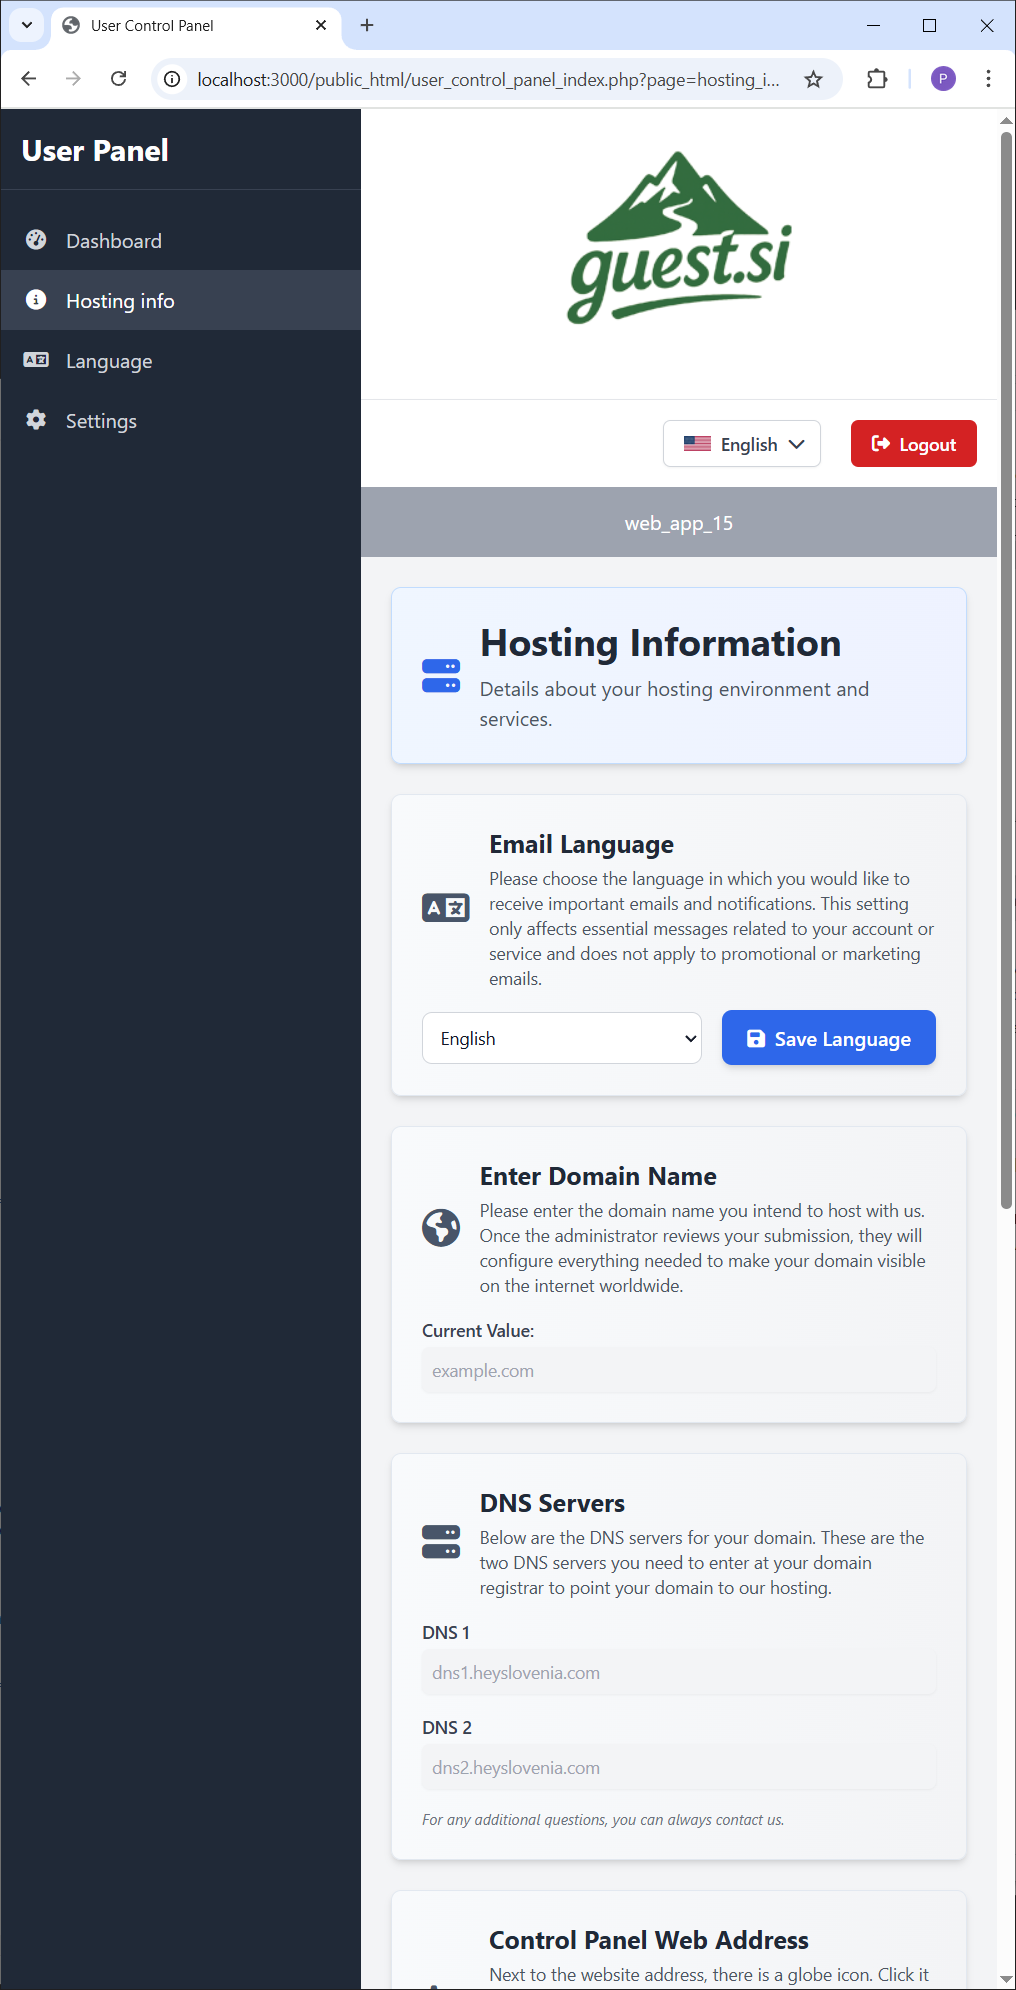
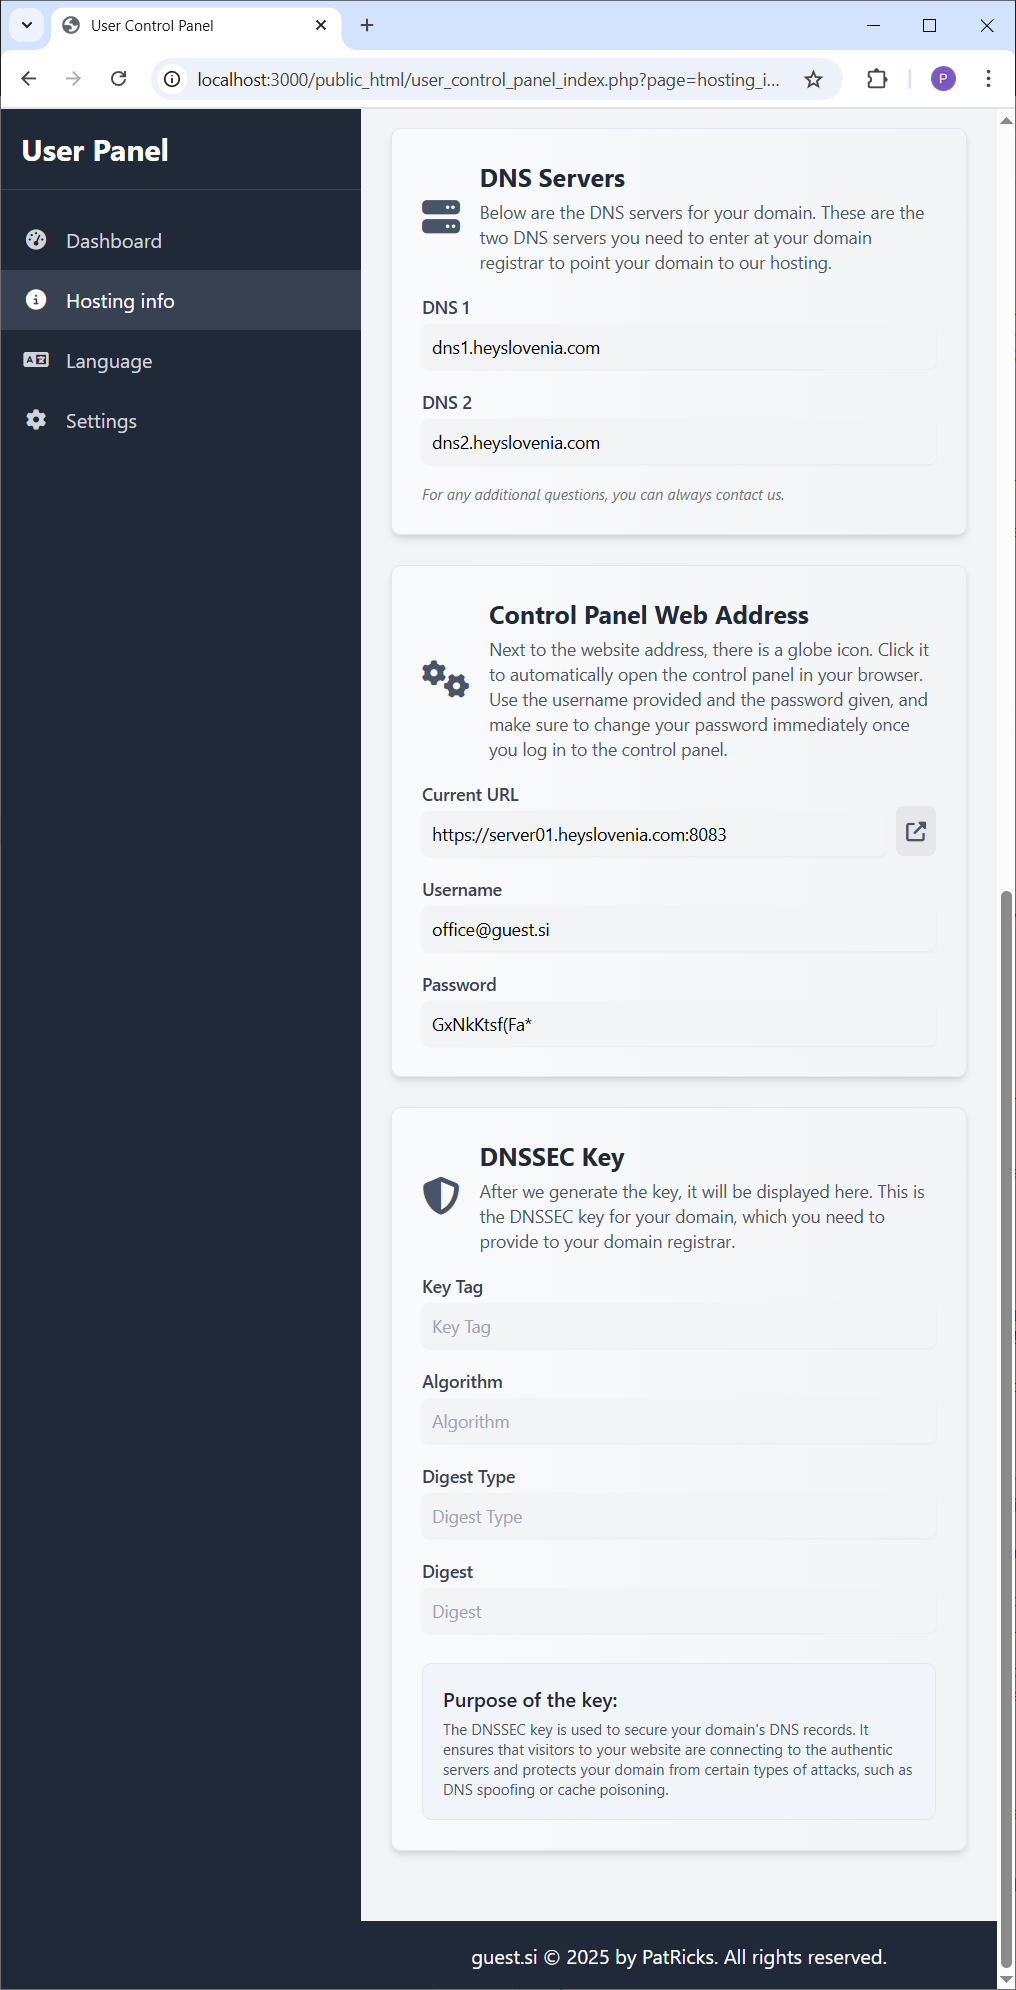
Click on the "Hosting Info" tab in the sidebar. This section contains all the critical details for your hosting environment.
Here you can find your DNS servers, control panel credentials, and manage your domain.
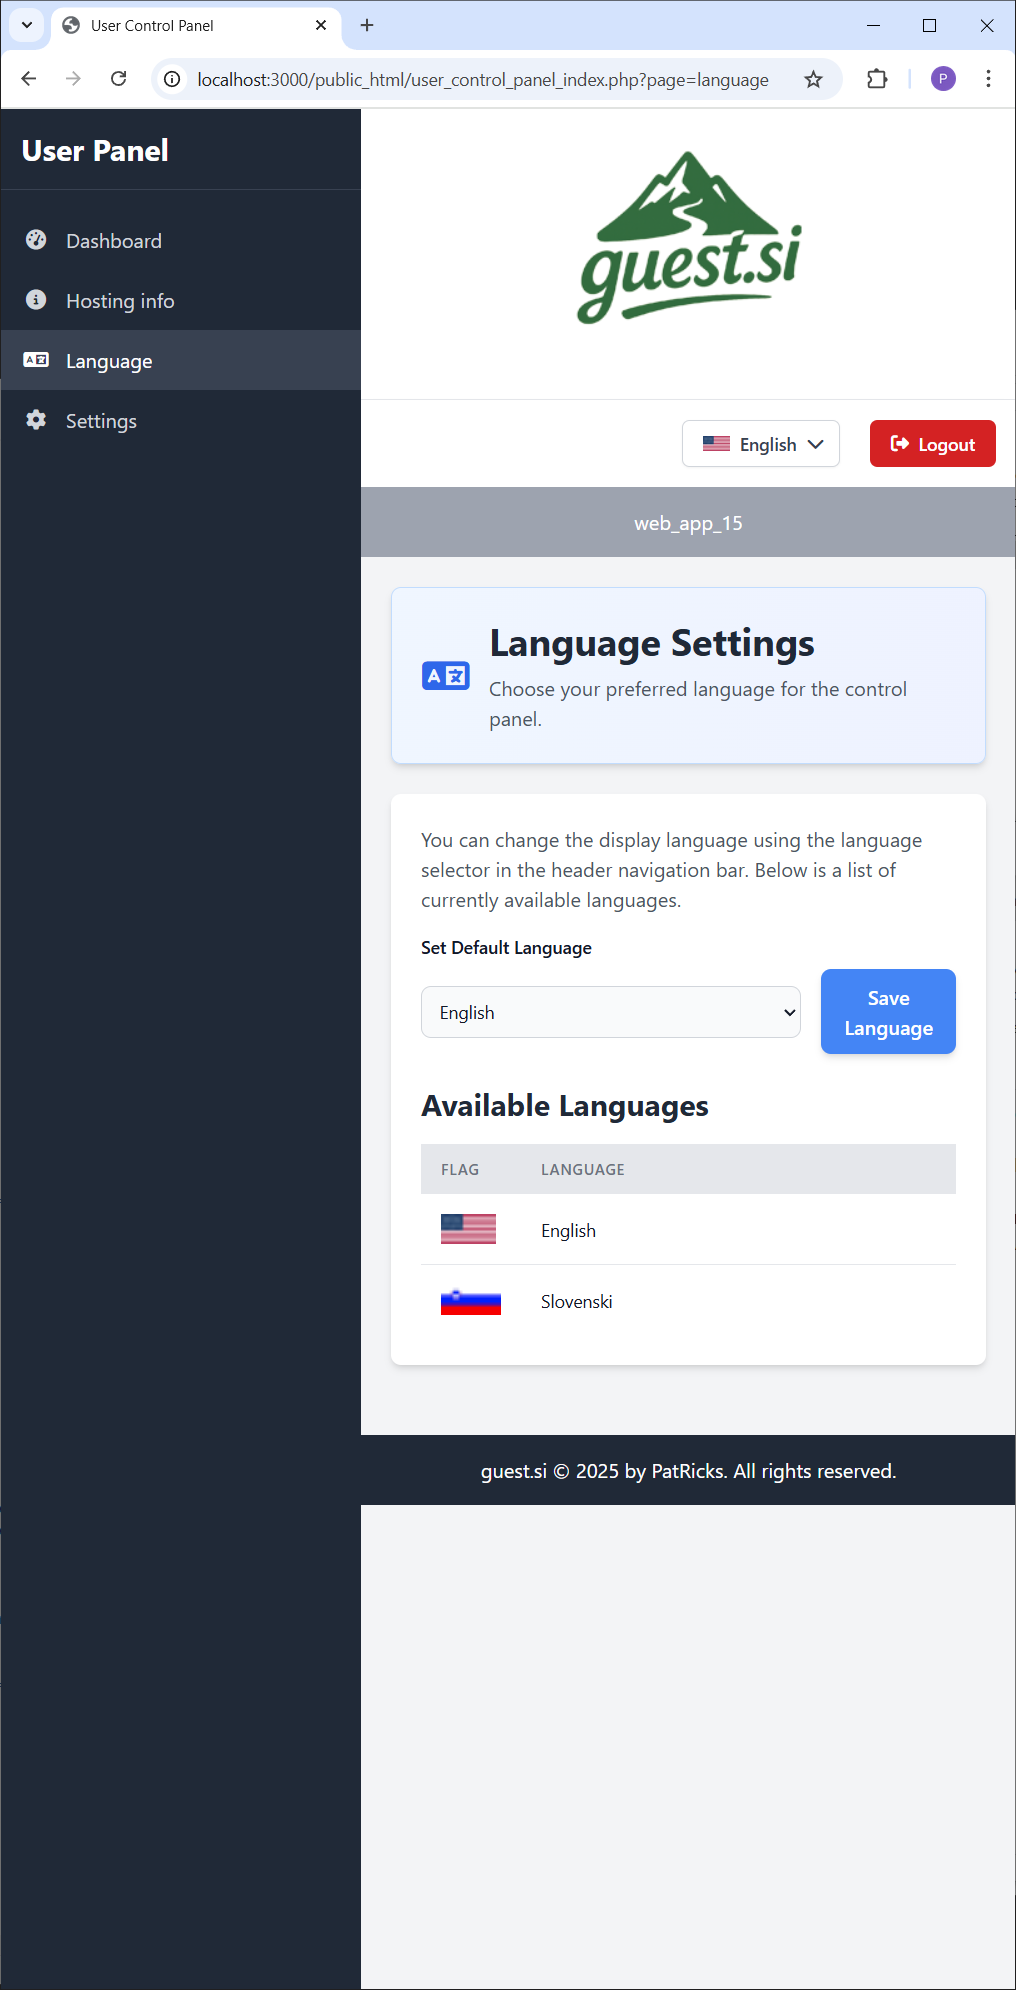
The "Language" tab allows you to see the available languages for the control panel.
You can set your default language here, which will be saved to your profile for future visits.
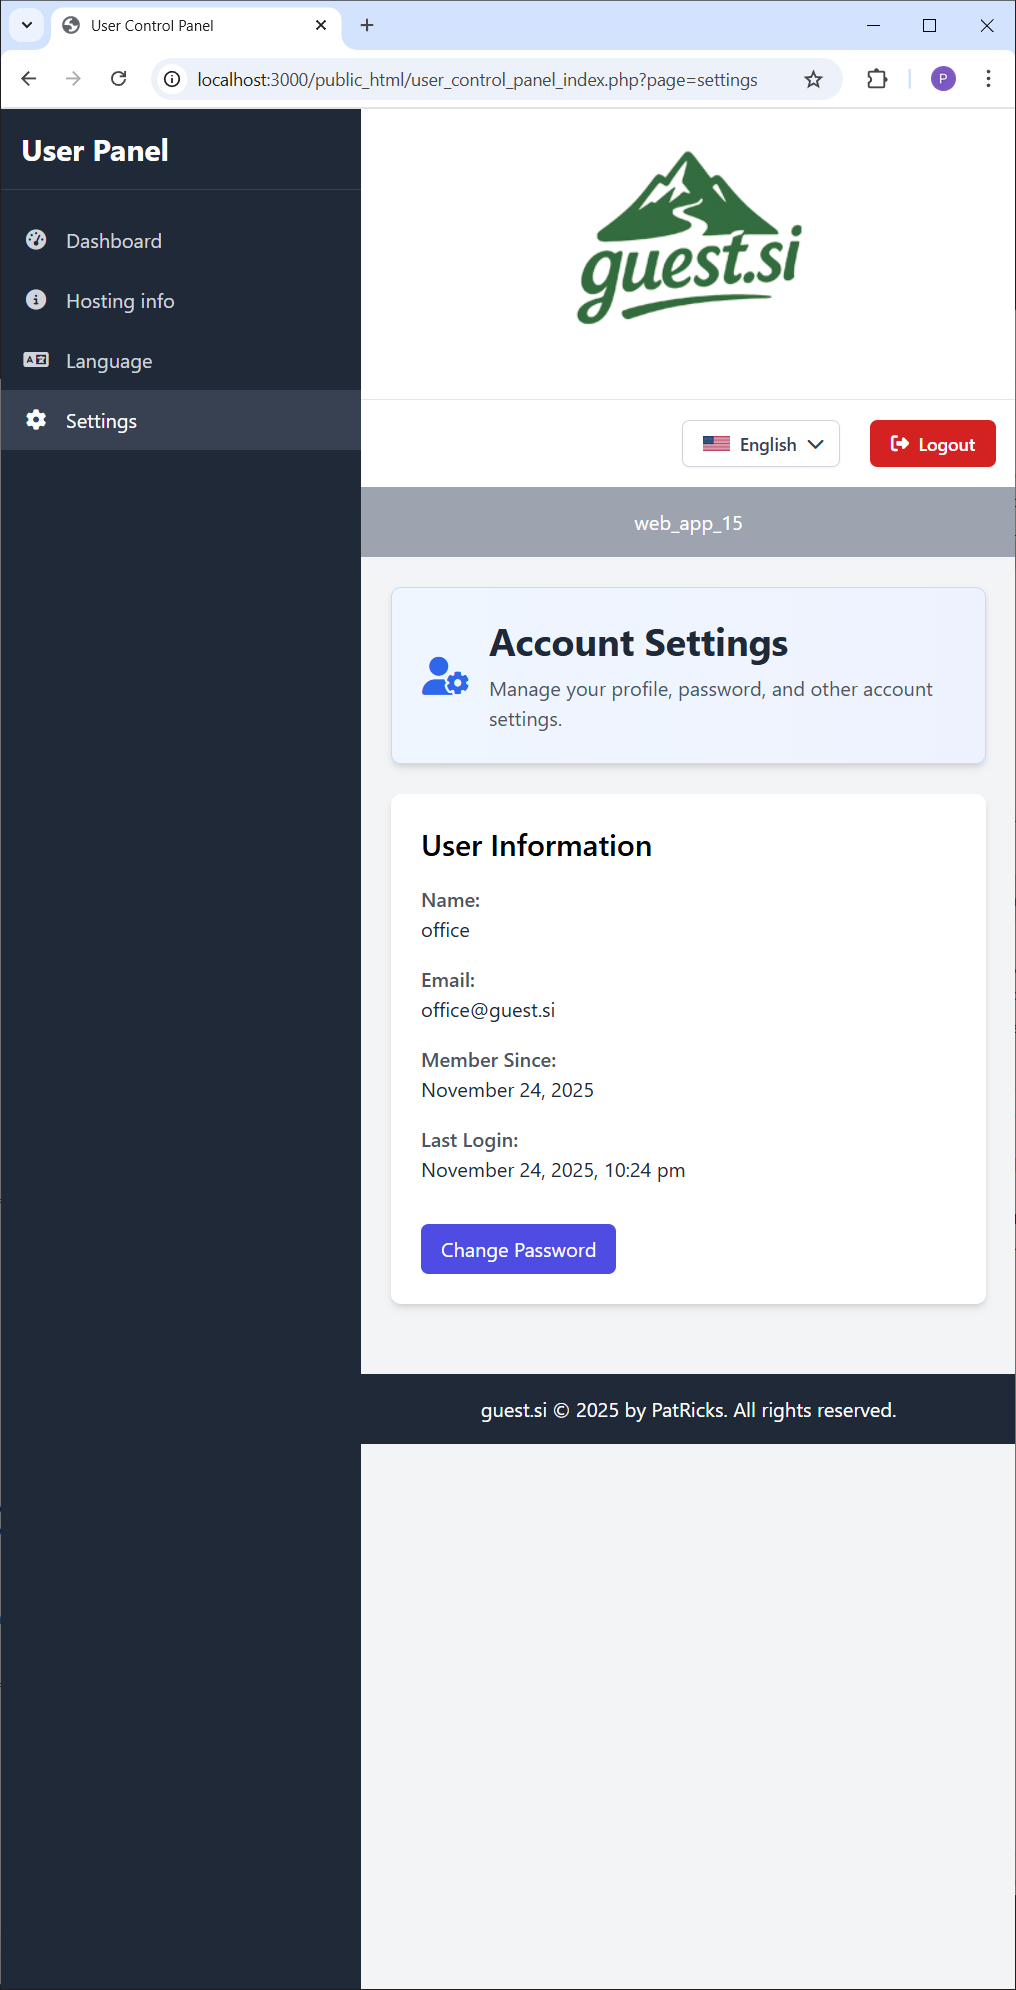
In the "Settings" tab, you can view your user information, such as your email and registration date.
This is also where you can change your account password for security.
Back in the "Hosting Info" tab, scroll down to find the "Control Panel Web Address" section.
This card contains the URL for your web server's control panel, along with the username and password you'll need to log in.
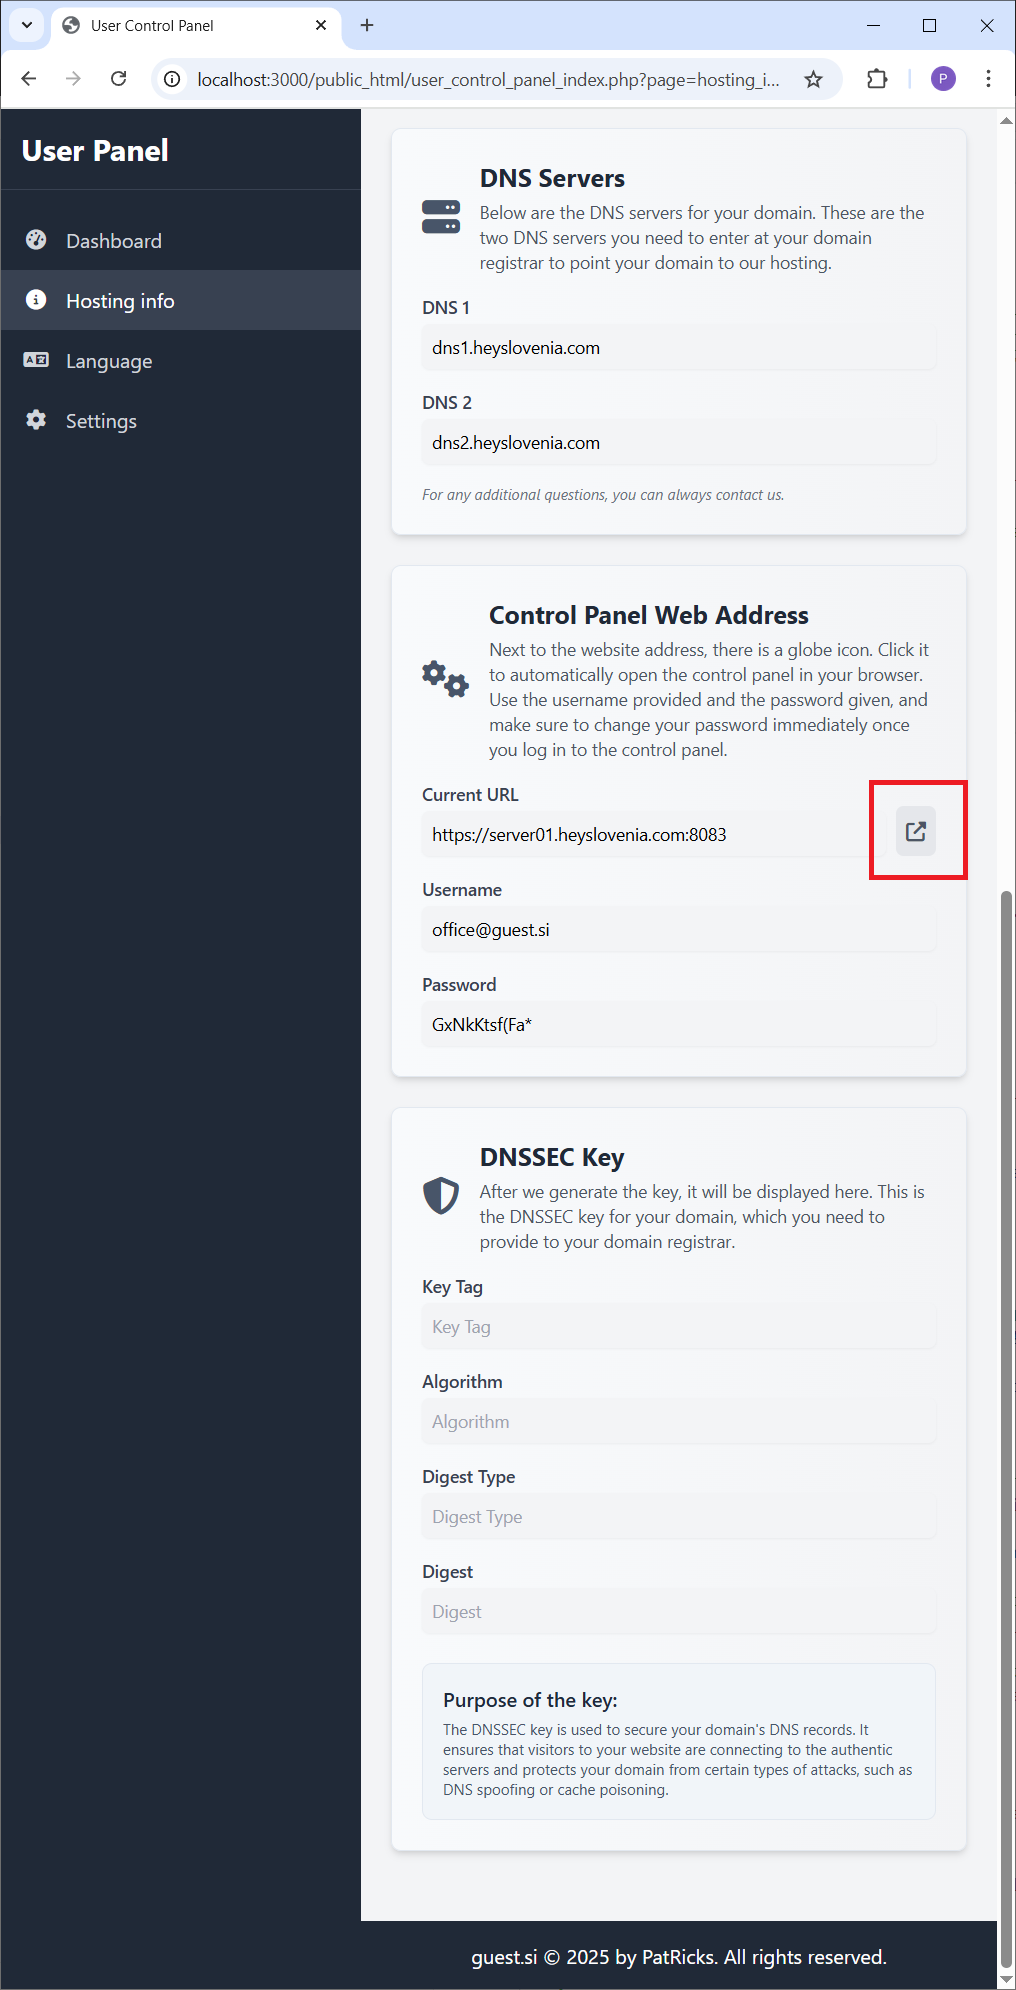
To open your web server's control panel, simply click the external link icon next to the URL.
This will open the login page in a new browser tab for your convenience.
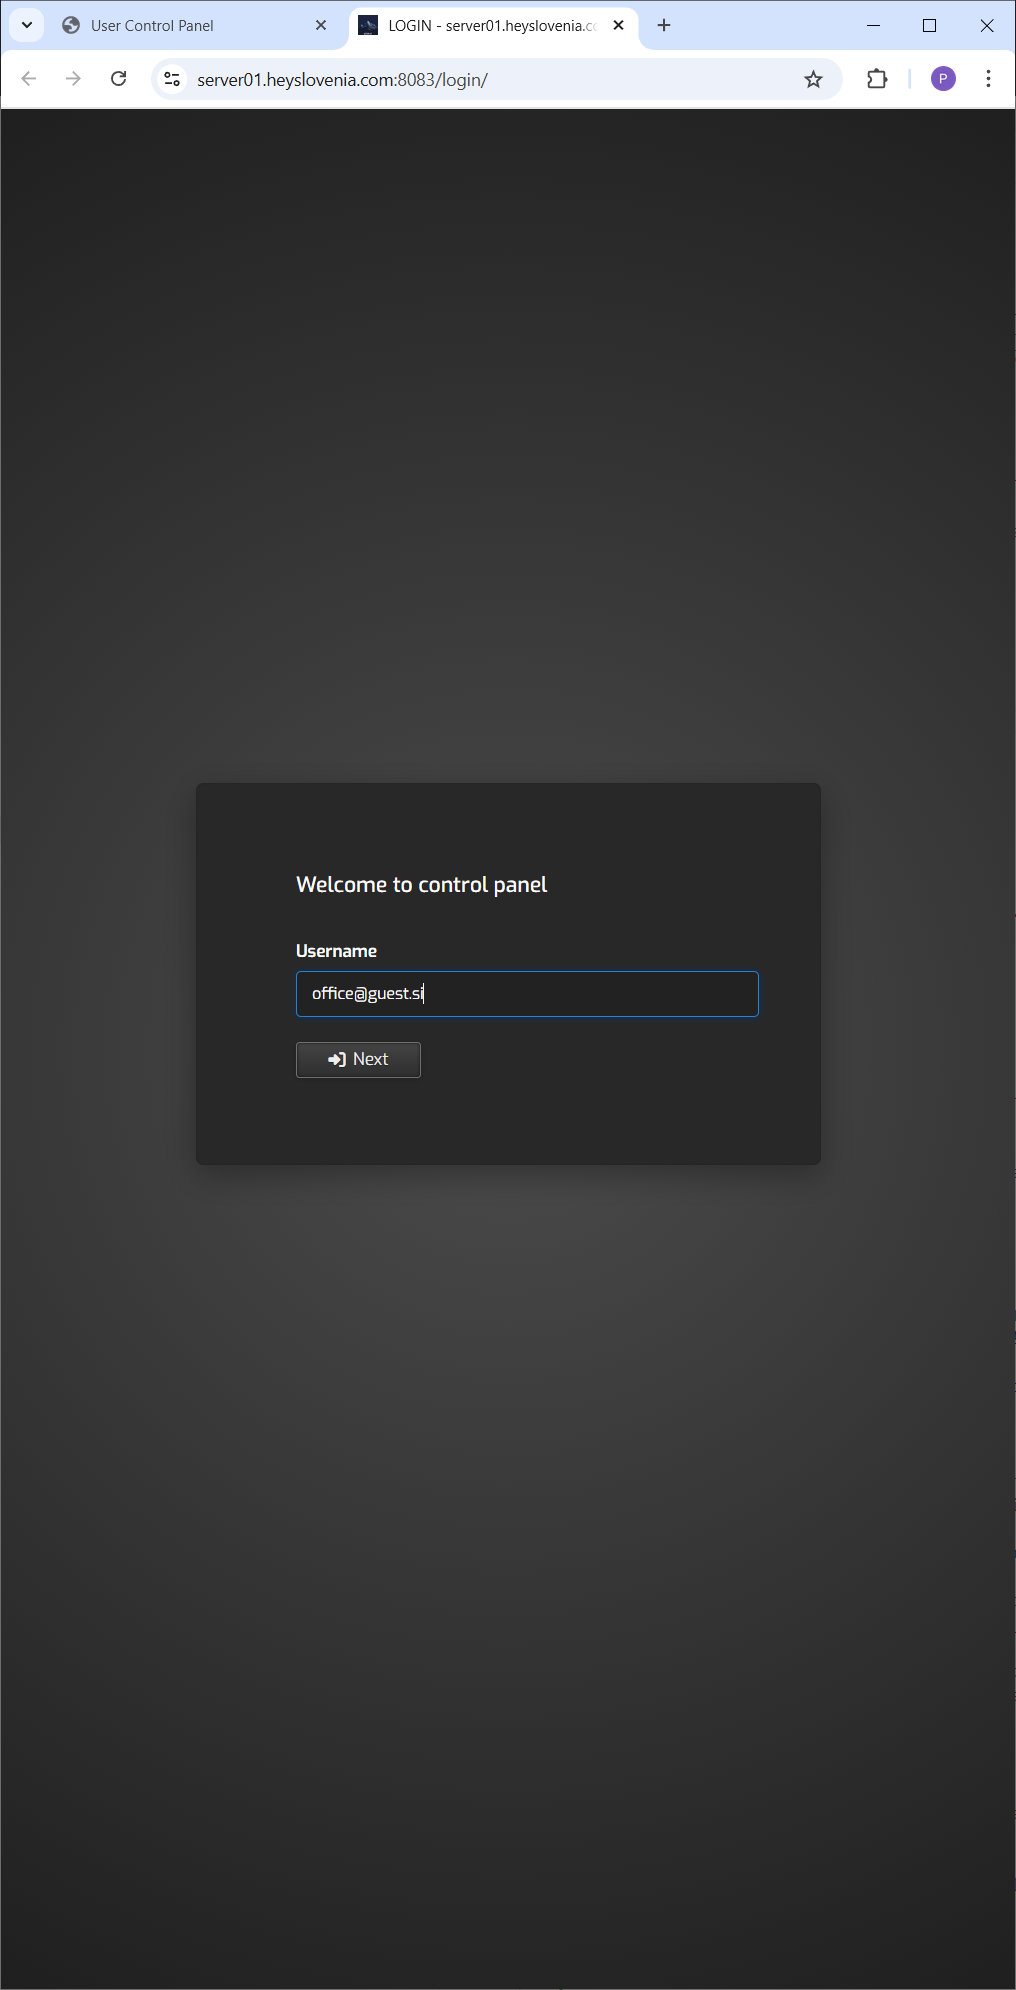
On the control panel login page, use the username and password provided in your user panel.
Enter your credentials and click "Login" to access the server management interface.
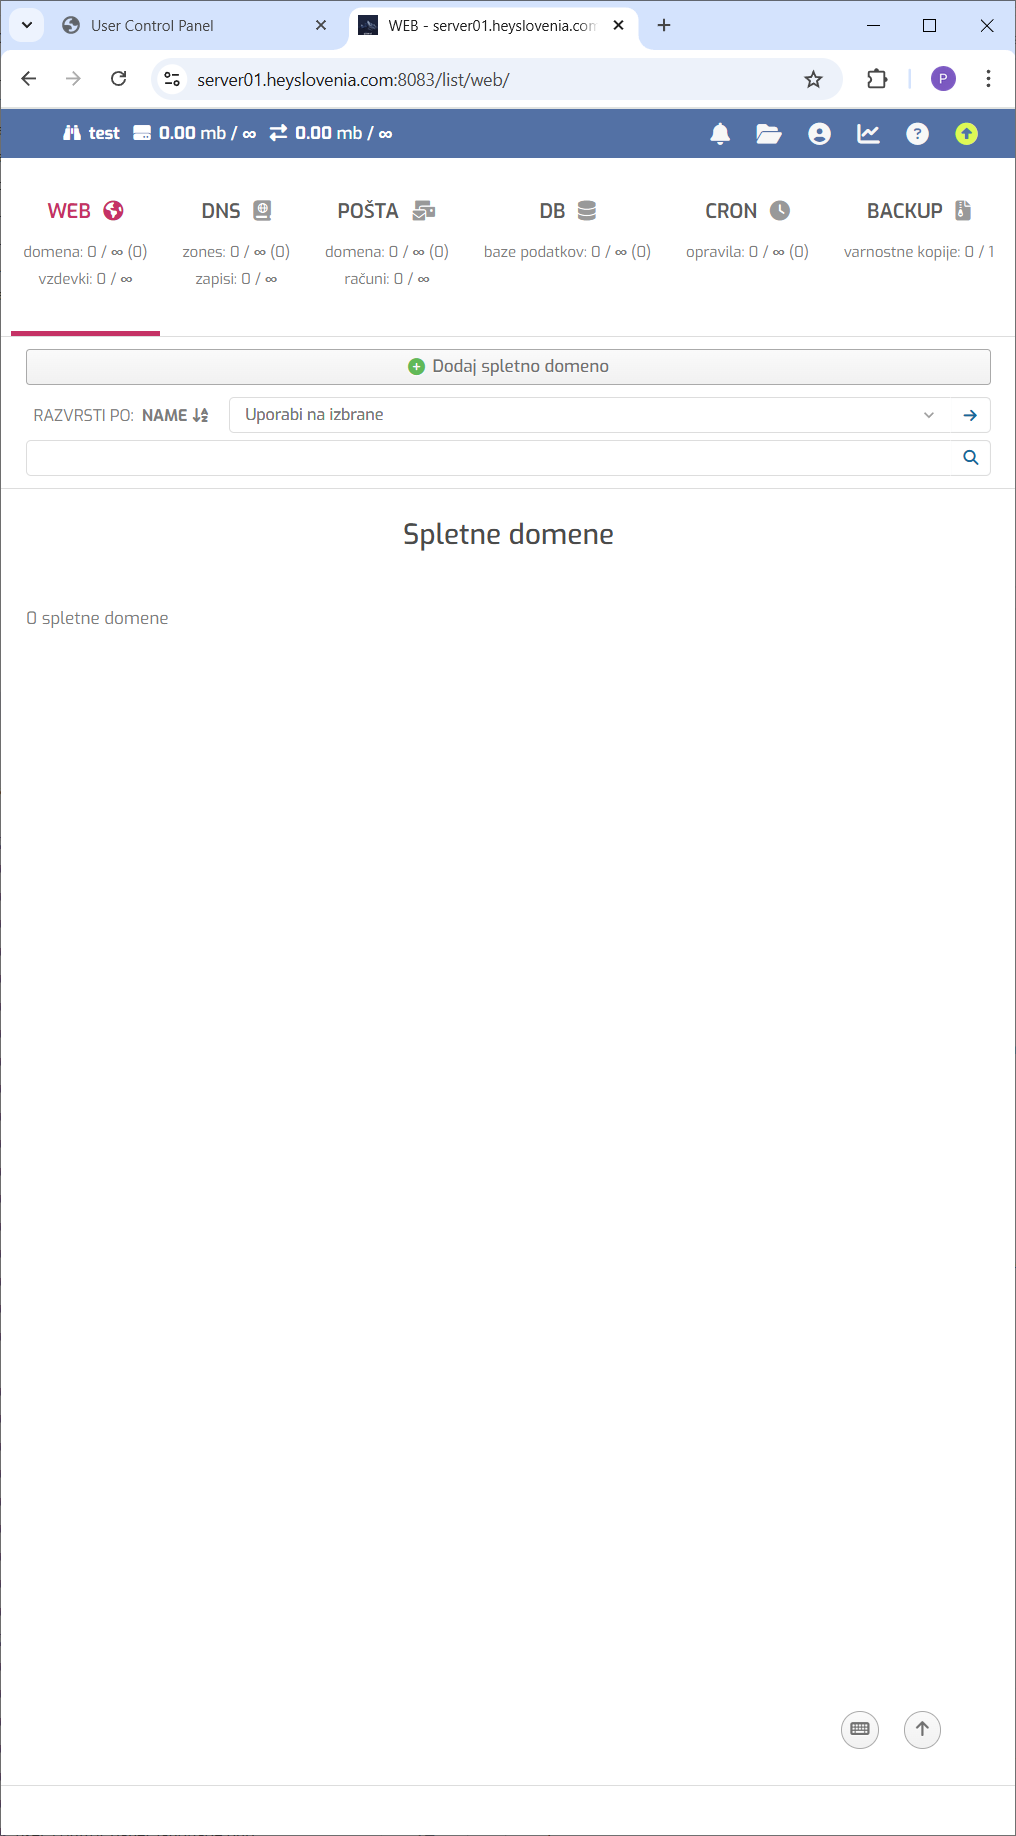
You are now logged into the Control Panel. This powerful interface gives you full control over your hosting environment.
From here, you can add your web domain, manage DNS records, create email accounts, set up databases, and much more.
Congratulations! You now have a fully functional hosting environment at your fingertips. Our platform is designed to be intuitive, but if you ever get stuck, don't hesitate to reach out.
Thank you for being a part of our community. We can't wait to see what you build!


